How to Monitor Your SOLAR Node via Telegram
1. Clone the repository into your SOLAR NODE
git clone https://github.com/mtaylan/SOLAR_NODE_Monitor_TELEGRAM.git
2. Edit CUSTOM VARIABLES in Solar_mon_discord.conf
cd SOLAR_NODE_Monitor_TELEGRAM/
nano Solar_mon_telegram.conf
# Custom variables
#

#SOLAR NODE SETTINGS
SOLAR_NODE_IP=XXX.XXX.XXX.XXX (Your NODE Public IP)
HOSTNAME="My SOLAR_NODE"    (Your Node Name)

#Telegram BOT Settings
TOKEN=59999999999:AAAAAAAAAAAAAAAAAAk (replace with your Telegram BOT TOKEN)
CHAT_ID=9999999999  (replace with your Telegram Chat ID)
TELEGRAM_URL="https://api.telegram.org/bot$TOKEN/sendMessage"

#ALARM SETTINGS
SEND_ALERT_FLAG=true
SEND_ALERT_FLAG_SW=true
SEND_ALERT_FLAG_CPU=true
SEND_ALERT_FLAG_HDD=true
SEND_ALERT_FLAG_BLOCKS=true

#ALARM TRESHOLD VALUES   ( You can modify these values according to your needs. )
CPU_LOAD_CRITICAL=40.00
LATENCY_CRITICAL=500
ALIVE=`date +%M`
HDD_USE_CRITICAL=88
MAX_BLOCKS_BEHIND=15

#TMP FILES
FILE=/tmp/tmp_check_SOLAR_NODE
FILE_CPU=/tmp/tmp_check_SOLAR_NODE_CPU
FILE_SW=/tmp/tmp_check_SOLAR_NODE_SW
FILE_HDD=/tmp/tmp_check_SOLAR_HDD
FILE_BLOCKS=/tmp/tmp_check_SOLAR_BLOCKS

# End of Custom variables
#
SAVE and EXIT (CTRL-O / Enter / CTRL-X)
chmod +x Solar_mon_telegram.sh
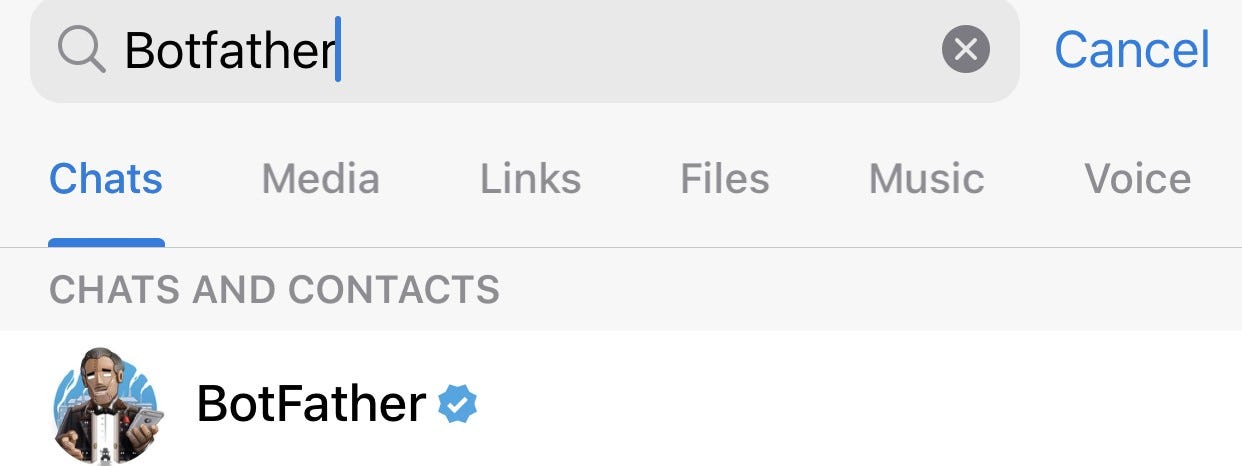
3. Open Telegram, sign in and Enter @Botfather in the search tab and choose this bot.
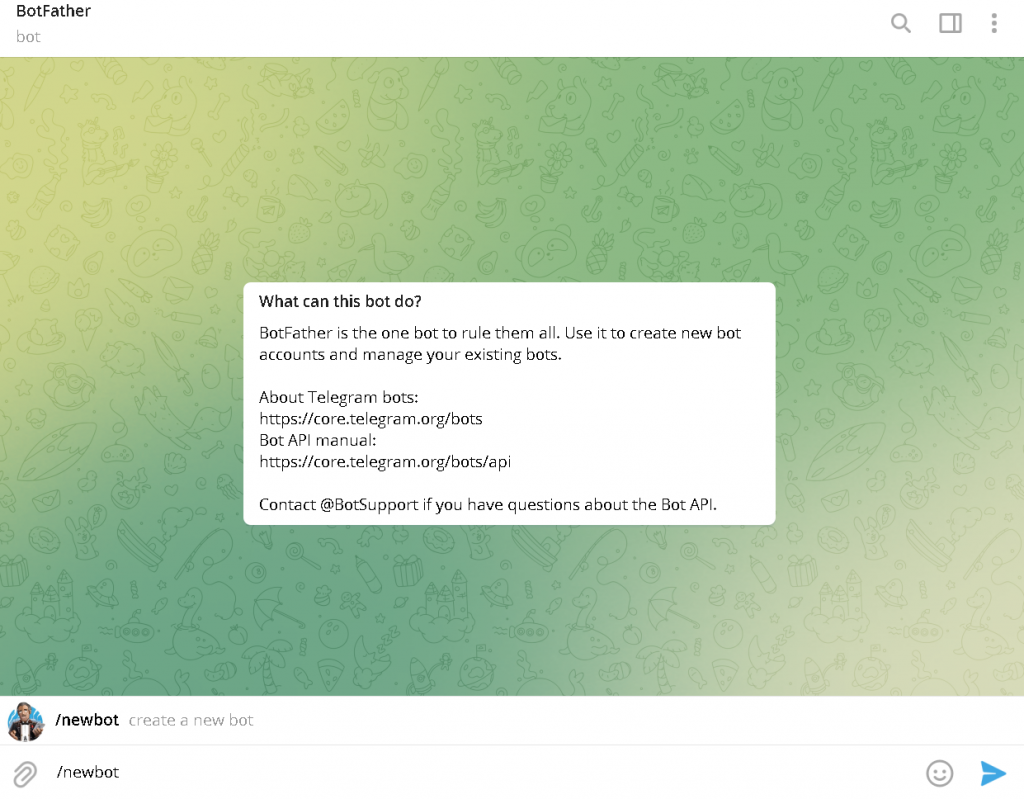
4. Choose the /newbot command and send it. Or just type the command /newbot and follow the istructions given by BotFather
5. Choose a name for your bot. For example my sample one is “SolarTRbot”.
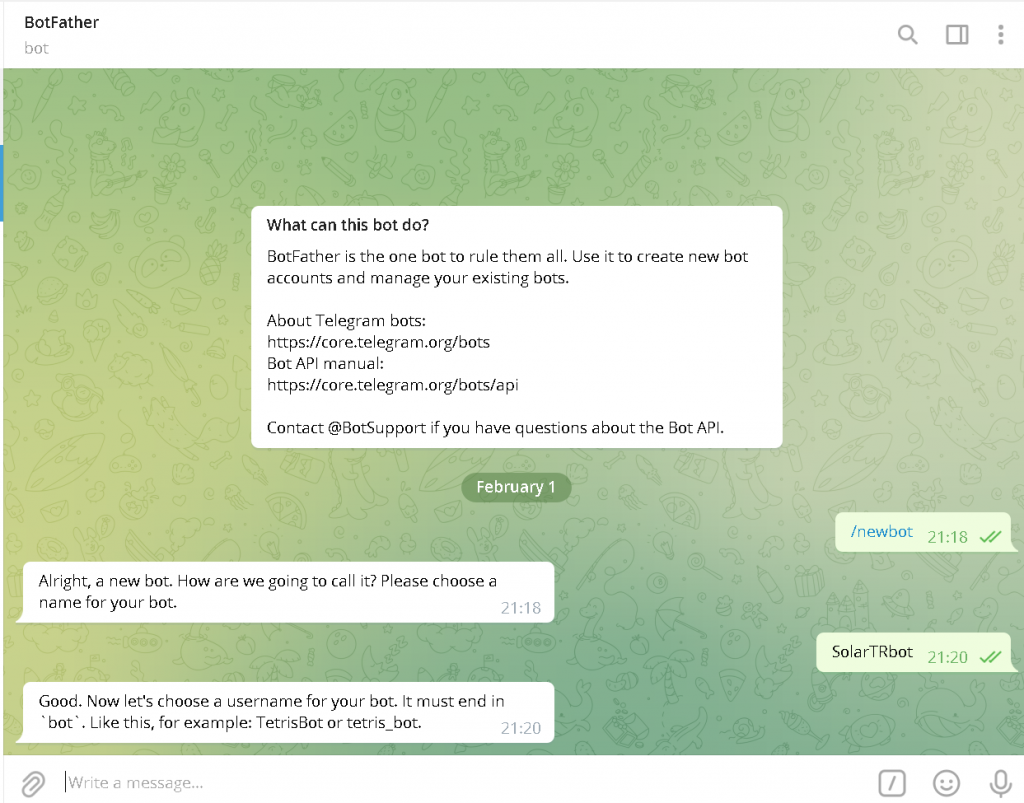
6. Choose a username for your bot — the bot can be found by its username in searches. The username must be unique and end with the word “bot.” So you’ve to give a unique username and it should be ending with bot.
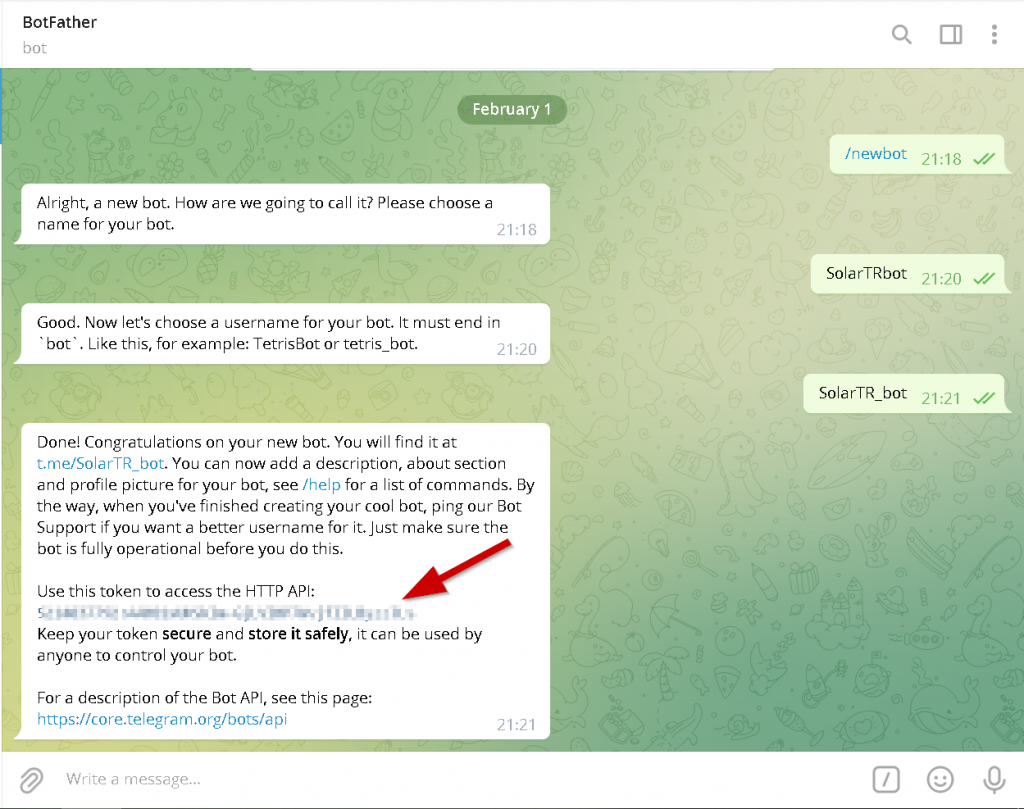
7. After giving the name it’ll show your TOKEN like shown with RED Arrow. TOKEN is the part right after “HTTP API: “. Copy the TOKEN. We will use it later.
8. Lets start communicating with our bot. Enter your bot’s name ( my one is SolarTRbot i.e.) in the search tab and choose it.
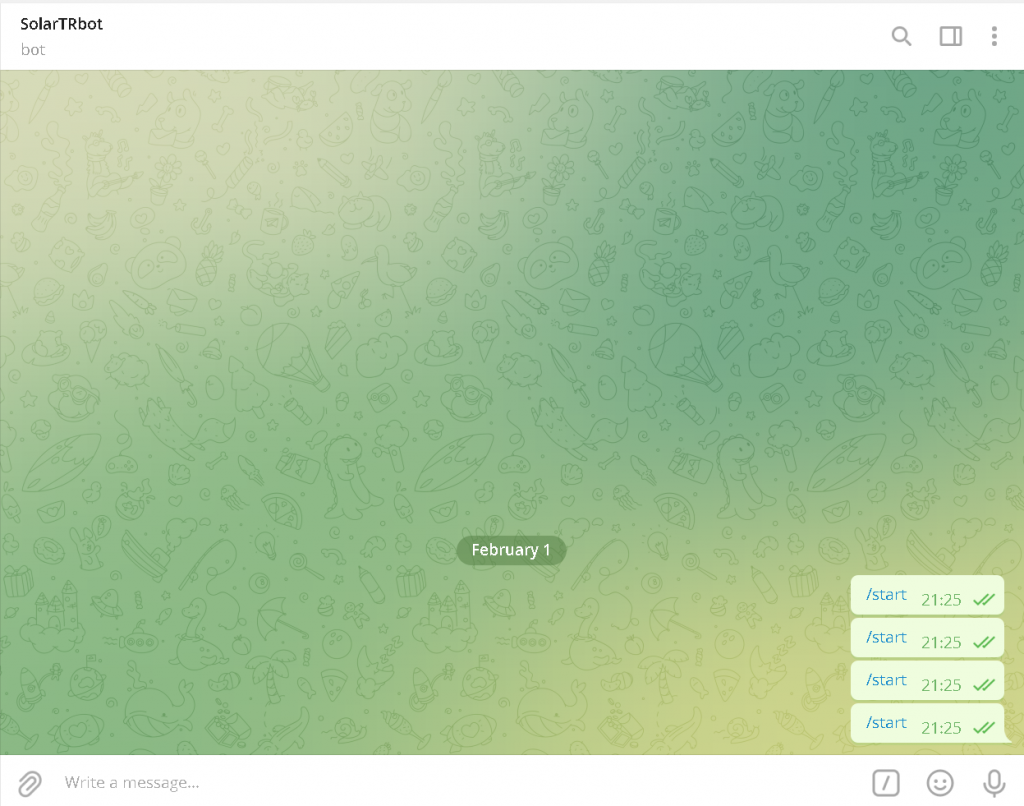
9. Click on the “Start” button and you will be subscribed to your bot. type /start
10. We have a TOKEN. We need CHAT ID also, We will use these 2 parameters as an input to our script in order to get alerts from our SOLAR NODE.
Go to you vm, Login with your Ubuntu user. Install “jq” utility, Set your TOKEN variable and via curl command get your Chat ID as shown below:
# install jq
sudo apt-get install jq -y
# Set TOKEN variable
TOKEN=ENTER YOUR TOKEN copied at STEP 7
# Get CHAT_ID
curl -s https://api.telegram.org/bot$TOKEN/getUpdates | jq .result[0].message.chat.id
If you can not get your Chat ID, Go to your telegram and type /start to your bot and run curl command again. There is no harm to type “/start” 4–5 times.
11. ENTER Your TOKEN and CHAT ID into the Solar_mon_telegram.conf file at Step.2
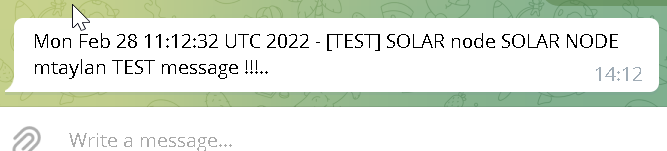
12. For testing Solar_mon_telegram.sh integration with Telegram BOT use the following command.
./Solar_mon_telegram.sh test
You will receive a message from your Telegram BOT
13. Enter the following lines into your crontab file for monitoring your node every 5 minutes ( use * * * * * for checking every minute. For more visit https://crontab.guru/ )
crontab -e
*/5 * * * * /path/to/home/SOLAR_NODE_Monitor_TELEGRAM/Solar_mon_telegram.sh > /path/to/home/SOLAR_NODE_Monitor_TELEGRAM/Solar_mon_telegram.log 2>&1
Let me know if you have problems or need help for installation. I am available on Discord and Telegram.